
Thanh An Hair
How to Dry Hair Extensions Like a Pro Without Heat Damage (2026 Guide)
Jul
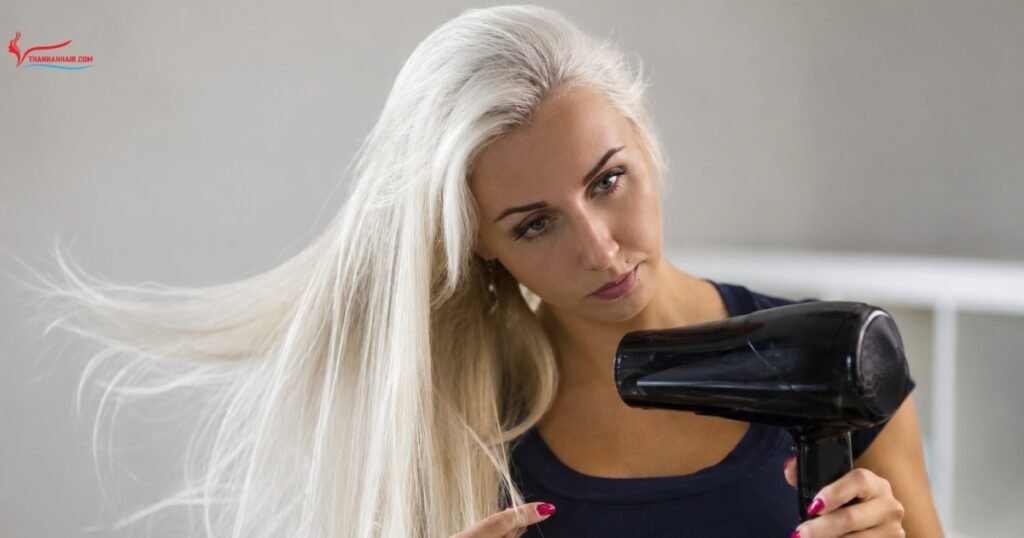
How To dry hair extensions like a pro, blot out the excess water with a microfiber towel (never rub), let them air dry to roughly 80 percent, then finish with a low, constantly moving blow dryer held about 15 cm away. Air dry clip-ins flat on a towel. For bonded extensions, always dry the roots and attachments first.
That sounds simple, and for clip-ins it is. The mistakes that ruin extensions happen in the details: rubbing a swollen wet cuticle with a rough towel, dragging a brush through soaking tangles, or blasting close, high heat to save five minutes. This guide is written by a hair manufacturer, so it goes past the usual tips and explains what is actually happening inside the fibre while it dries, and how that changes what you should do for each type of extension.
Should you air dry or blow dry hair extensions?
For loose clip-in extensions, gentle air drying is the safest choice. There is no scalp and no bond to worry about, so you can skip heat completely. For extensions attached to your head, the answer is less obvious than most blogs admit.
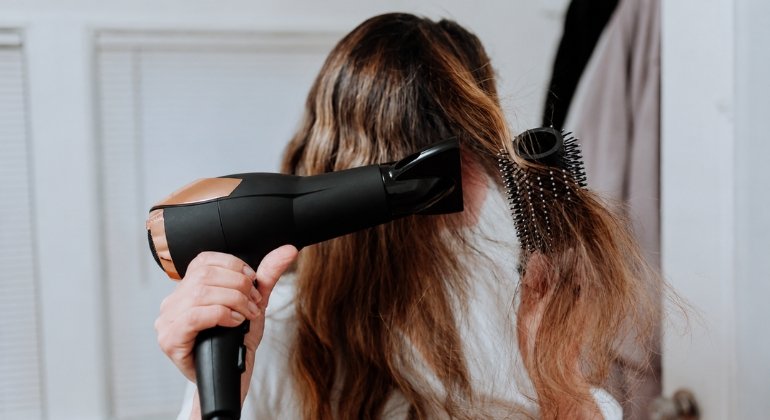
A 2011 study in Annals of Dermatology compared air drying against blow drying at several distances and temperatures. The counterintuitive result: the air-dried group was the one that showed damage to the cell membrane complex, the lipid cement that binds the hair’s internal cells, because the fibre stayed swollen with water for longer. Blow drying from about 15 cm away with continuous motion, which brought the hair to roughly 47C, caused less overall internal damage. You can read the study on PubMed.
This does not mean heat is harmless. It means the goal is to shorten the time your hair spends soaking wet, not to avoid drying at all costs. For clip-ins you hit that goal by air drying flat in a ventilated spot. For bonded sets you hit it with brief, low, moving heat. Either way, drying starts before you switch anything on, which is why it pays to wash extensions correctly in the first place.
| Extension type | Best drying method | Heat setting | Dry first | Main risk if rushed |
| Clip-ins, halo, ponytail | Air dry flat on a towel | None needed | Not attached, dry evenly | Matting if left in a wet pile |
| Tape-ins | Low, moving blow dry | Low to medium | The tape bonds | Adhesive weakens, tabs slip |
| Nano and micro rings | Low, moving blow dry | Low to medium | Roots and beads | Trapped moisture, slippage |
| Keratin bonds (I, U, flat tip) | Low, moving blow dry | Low to medium | The bond tips | Softened bonds, tangling at root |
| Sewn weave and wefts | Blow dry the braid base | Low to medium | The braided base | Bacteria and odour in a damp base |
How to dry each type of hair extension safely.
Why is wet hair so fragile?
Wet hair is weaker than dry hair because water slips between the keratin proteins and breaks the hydrogen bonds that give the fibre its strength. When a strand absorbs water it swells and its cuticle scales lift. In that state the hair stretches more easily but resists breaking far less.
Peer-reviewed data puts numbers on it. According to a review of hair cosmetics in the International Journal of Trichology, virgin hair can be stretched about 30 percent while wet without permanent harm, but stretching between 30 and 70 percent causes irreversible change, and at roughly 80 percent the fibre fractures. Combing or tugging a wet strand is exactly how you push it into that range.
Extensions raise the stakes. They receive none of the natural sebum your scalp produces, so their only lubrication and lipid protection is what you add back with product. That makes gentle wet handling and prompt drying more important for extensions than for growing hair, not less. Repeated soaking and drying is often called hygral fatigue. The effect is real but modest for healthy hair: the damage comes from how you treat the hair while it is wet and swollen, not from water itself. Rubbing a towel over a lifted cuticle, brushing through sopping tangles, or sleeping on wet strands is where breakage actually happens.
What heat setting should you use to dry hair extensions?
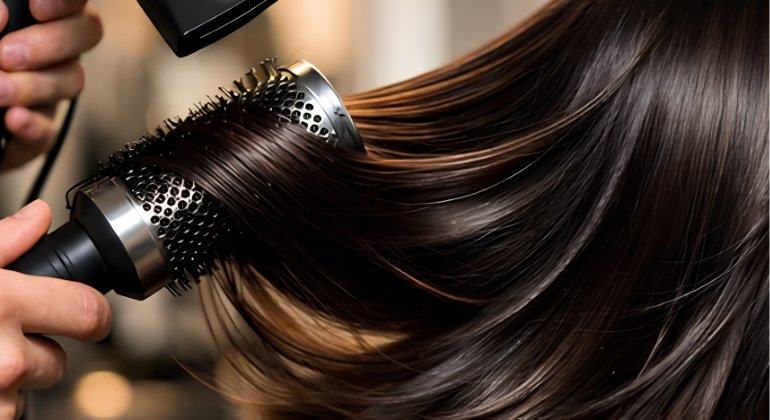
Use the low or medium setting on your dryer, hold it about 15 cm (6 inches) from the hair, and keep it moving. At that distance the hair surface only reaches around 47C, comfortably below any level that harms the protein.
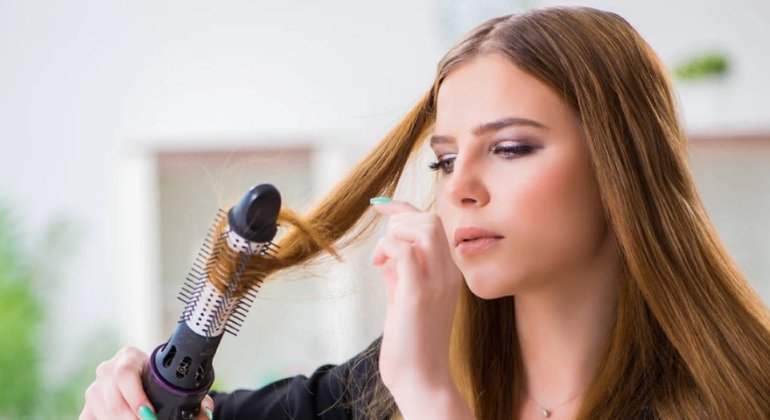
Hair keratin does not begin to break down until much higher temperatures. Research on heat-styled hair shows the protein starts to decompose near 200C for healthy hair, and closer to 175C for chemically treated or bleached hair, as reported in a 2025 thermal-damage study. That is why flat irons and curling wands, not dryers, do the real thermal damage. Above about 100C, water trapped inside the shaft can flash to steam and blister the cuticle, so the danger with any tool is concentrated, close, stationary heat on a wet fibre. The American Academy of Dermatology makes the same practical point: use the lowest heat setting that does the job, and let hair dry partway before you reach for a tool.
| Method or tool | Approx heat at the hair | Verdict for extensions |
| Air only (room temperature) | About 20C | Safe but slow, best for clip-ins |
| Dryer at 15 cm, kept moving | About 47C | Safest active option |
| Dryer at 5 cm, held still | About 95C | Risky, lifts and cracks the cuticle |
| Flat iron or curling wand | 175C to 230C | Highest risk, dry hair plus heat protectant only |
Approximate temperatures the hair surface reaches, based on heat-styling research.
How to dry hair extensions step by step
This routine works for any extension type. Adjust only the heat and the order in which you dry the roots, which the sections below spell out.
- Step 1: Blot, do not rub
Press the water out with a microfiber towel or a clean cotton T-shirt. The looped pile of a terry towel snags the lifted cuticle of wet hair and is a direct cause of frizz. - Step 2: Detangle gently while damp
Work from the ends upward with a wide-tooth comb or a loop brush. Hold the weft or the bond in your other hand so you are never pulling at the attachment point. - Step 3: Apply a leave-in or heat protectant
Mist a light film through the mid-lengths and ends. It slows heat transfer, and just as important for extensions, it replaces the lubrication they cannot get from your scalp. - Step 4: Air dry to about 80 percent
Lay clip-ins flat on a towel or hang wefts for even airflow. Starting from damp rather than dripping cuts total heat time and shortens the fragile window while the fibre is swollen. - Step 5: Finish on low, moving heat
Hold the dryer about 15 cm (6 inches) away and keep it moving. For bonded sets, aim the airflow down the hair shaft and dry the roots and attachments before the lengths. - Step 6: Work in sections
Divide long or thick hair so each pass is quick. Sectioning stops you from resting concentrated heat on any one spot, which is where cuticle blistering starts. - Step 7: Set with a cool shot and smooth
A final cool pass helps the hair hold its smoothed shape as it cools. Finish with a drop of oil or serum on the ends for slip and shine.
How to dry every type of extension
The attachment decides the method. Here is the precise version for each system, which is where most guides stop short by lumping them together.
Clip-in, halo and ponytail extensions
Because you remove these before washing, air drying is both safest and simplest. Blot, lay them flat on a clean towel in their natural shape, and keep them out of direct sun and off radiators. A hanger improves airflow and stops the wefts folding into a damp pile. If you want them sleek afterward, a quick pass with low heat or straighteners on fully dry hair is all it takes. Shop clip-in extensions if you are building a set that behaves well wet.
Tape-in extensions
The adhesive is the weak point. Prolonged moisture and direct heat both soften it, so never let tape bonds sit wet and never rest a hot tool on the tabs. Towel-blot, then blow dry the bonded roots first on low, aiming the airflow down the hair so the tape stays flat. Move to the lengths once the bonds are dry. Browse tape hair for weft construction that holds up to daily drying.
Nano ring and micro ring extensions
These have no adhesive, just a bead clamped onto your own hair, so the concern is trapped water at the ring and scalp. Towel-dry without tugging near the beads, then blow dry the roots and rings first on a medium setting, airflow pointing down, holding the dryer about 15 cm away so you do not overheat the attachment. Finish the lengths, smoothing as you go.
Keratin bond extensions (I-tip, U-tip, flat tip)
Keratin and polyurethane tips can soften with excess heat, so treat them like tape: low heat, never direct and stationary on the bond. Dry the bond line and roots first to stop moisture sitting against the attachment, then work down. See keratin tip hair for the bond types that hold their shape.
Sewn weave and wefts
A weave is sewn onto braids, so airflow struggles to reach the scalp. That is the one place you must not leave damp, because trapped moisture in a braided base breeds bacteria and odour. Blot, aim a low dryer at the braided base first, and use your fingers or a diffuser to lift sections so air can circulate. Only move to the mid-lengths once the base is dry. Our sew-in maintenance guide covers the full routine, and you can view weft hair options here.
Does a cool shot really seal the cuticle and lock in shine?
This is the most repeated myth in extension care, and it is worth correcting because it changes how you think about shine. Cold air does not seal the cuticle shut like a pore closing. A cool finish helps, but the mechanism is different: as the hair cools, the hydrogen bonds that were made mobile by heat and water reform and set the fibre in whatever shape it currently holds. Cool the hair while it is smooth and it stays smooth.
Shine itself comes from something else. Light reflects evenly off cuticle scales that lie flat, over an intact surface lipid layer. That lipid layer, built around a molecule called 18-MEA, is what gives healthy hair its water-repellency and gloss, as described in the trichology review above. Flat scales plus that lipid film equal shine. What actually flattens lifted scales is mildly acidic product (healthy hair sits around pH 4.5 to 5.5) and gentle mechanical smoothing, not temperature. Alkaline products and rough handling lift the scales; acidic, well-formulated products help them lie down. So the real recipe for shine is alignment, a healthy lipid layer, the right pH and a little lubrication, and the cool shot is a small finishing touch, not a seal.
The manufacturer’s difference: why cuticle-aligned raw hair dries better
Not all human hair behaves the same when it gets wet, and this is where sourcing matters. Raw, single-donor hair keeps every cuticle intact and running the same direction, root to tip. When all the scales face the same way, wet strands glide past each other instead of catching, so aligned hair tangles far less when soaked and dries smoother and faster.
Lower-grade hair does the opposite. Wefts blended from many donors mix cuticle directions, which invites matting the moment the hair is wet. Cheaper “remy-labelled” hair is often acid-stripped, its cuticle chemically removed and replaced with a silicone coating that mimics shine on day one. Once that silicone washes off, the stripped fibre swells unevenly, lifts and mats, and no drying technique fully rescues it. This is why the hair you buy determines how forgiving your wash-and-dry routine can be. Our one-donor weft hair and clip-in sets are built from cuticle-aligned raw hair for exactly this reason.
Common drying mistakes that shorten extension lifespan
Most damage traces back to a short list of habits. Avoiding these does more for longevity than any product:
- Rubbing hair dry with a terry towel instead of blotting with microfiber.
- Going to bed with wet extensions, which tangles the hair and loosens bonds.
- Holding a dryer close and still, or reaching for high heat to save time.
- Brushing soaking-wet hair, or using a fine brush that rips through tangles.
- Skipping the leave-in or heat protectant that replaces lost lubrication.
- Leaving tape, keratin or weave bonds damp at the root.
- Resting a flat iron directly on tape or keratin attachments.
- Drying in direct sun or on a radiator, which overheats and dehydrates the hair.
For a wider view of the daily habits that wear extensions down, see our guide on the things to stop doing to your hair.
Dry them right, and they last longer
Drying hair extensions like a pro comes down to three ideas: keep the wet window short, keep the heat low and moving, and handle the swollen cuticle gently. Do that, and add back the lubrication your extensions cannot get from a scalp, and a good set stays smooth and glossy for months. It also helps to start with hair that behaves well wet in the first place.
Thanh An Hair is a factory-direct manufacturer of raw, single-donor Vietnamese hair with two decades of production experience. If you run a salon or resell extensions and want hair that dries predictably and lasts, contact us for wholesale pricing and a sample.
Contact Thanh An Hair today for expert consultation and the most competitive price list.
- WhatsApp/Hotline: (+84) 973 522 855
- Official Website: https://thanhanhair.com/
- Instagram: @thanhanhair
- Email: thanhanexport@gmail.com