
Clip In Hair
How to Put In Clip In Hair Extensions in 5 Minutes
Oct
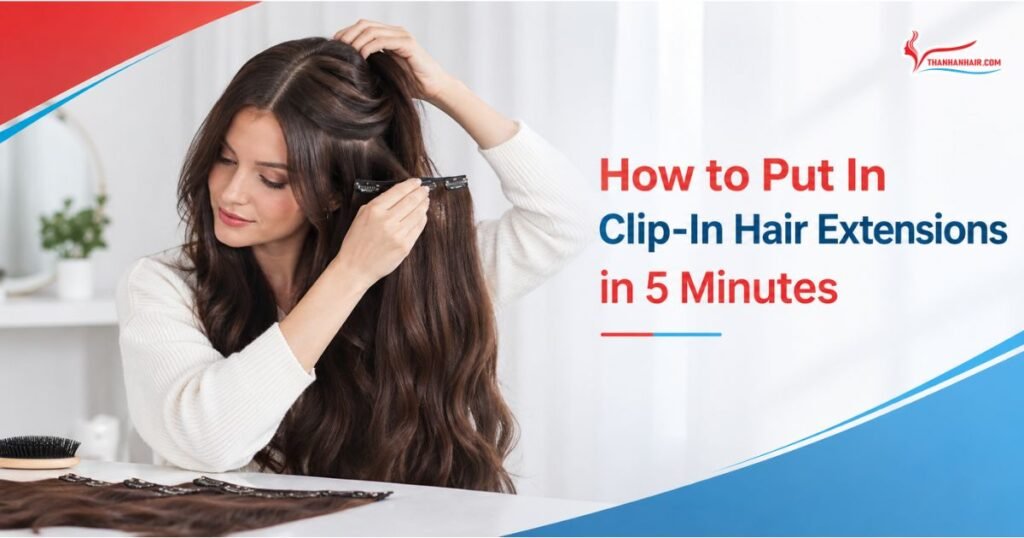
You can learn how to put in clip in hair extensions in one sitting. Section your hair into horizontal rows, rough up the roots for grip, and snap wefts in from the nape up: a 3-clip weft low, the wide 4-clip weft in the middle, 2-clip wefts at the sides. Style everything together, and you finish in about 5 minutes.
Thanh An Hair is a family-run Vietnamese manufacturer that has made raw human hair extensions for about 20 years. This guide answers what first-time wearers ask us most: where each weft goes, how many grams you need, and what to change for thin or short hair.
At a glance
- Time: about 5 minutes with practice. Your first attempts take longer.
- Order: nape row first, the widest weft in the middle, narrow wefts at the sides.
- Grip: backcomb or texture spray at every parting on fine or silky hair.
- Weight: lighter single drawn sets for fine hair, heavier double drawn sets for thick hair.
- Safety: take clip ins out before bed. A clip that hurts sits too tight.
What Do You Need Before You Put In Clip In Extensions?
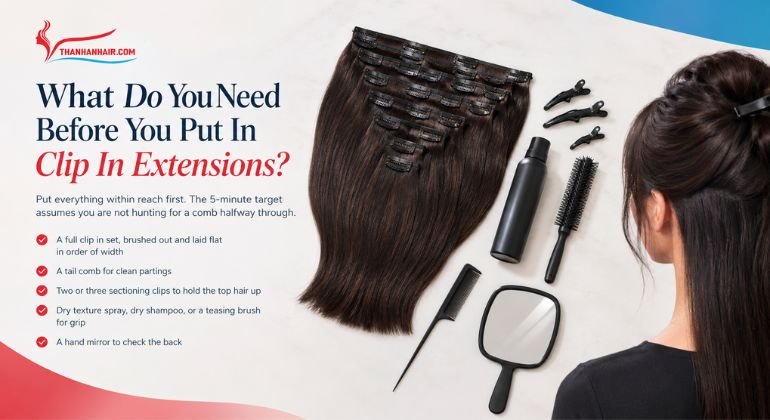
Put everything within reach first. The 5-minute target assumes you are not hunting for a comb halfway through.
- A full clip in set, brushed out and laid flat in order of width
- A tail comb for clean partings
- Two or three sectioning clips to hold the top hair up
- Dry texture spray, dry shampoo, or a teasing brush for grip
- A hand mirror to check the back
Clip extensions into dry hair. Day-two hair holds clips better than freshly washed, silky hair, because a little texture gives the clip teeth something to bite. If you want waves, curl the wefts before you put them in. Curling them flat on a table beats reaching around clips at the back of your head.
Where to Place Clip In Extensions: The Weft Map
Clip in weft placement follows the shape of your skull. Wide wefts go across the flat back of the head, and narrow wefts go on the curved sides, where a wide piece would bend and gap.
| Weft | Clips | Where it goes | What it does |
| Widest weft (about 8 in) | 4 | Row 2, middle of the back | Carries most of the length and bulk |
| Wide wefts (about 6 in) x2 | 3 | Row 1 at the nape and row 3 below the crown | Builds density low and lifts the upper back |
| Narrow wefts (about 4 in) x2 | 2 | Above each ear | Fills the sides and frames the face |
| Single pieces (about 1.5 in) x2 | 1 | Gaps near the crown or temples | Spot-fills thin areas |
How many clip in wefts do I need?
A standard full set runs 7 to 10 pieces. Fine hair often looks better with 4 or 5 pieces spaced a full inch apart, because each extra row adds weight and one more track to hide. Thick hair can take the full set, or a second set layered between the rows. Add side and filler pieces only where you see gaps.
6 Clip In Extension Hairstyles You Can Finish in 5 Minutes
Each style below uses the same weft map, with a change in how many rows you fill or how you finish.
| Style | Wefts to use | The move that makes it work |
| Blowout waves | Full set | Curl the wefts flat on a table before you clip them in, then wave only your own top layer |
| High ponytail | Rows 1 and 2, plus the widest weft | Tie your ponytail first, wrap the widest weft around the base, clip it into the tie, and hide the elastic with a strand |
| Messy low bun | Rows 1 and 2 | Twist loosely and pin. The extra hair gives the bun its size |
| Half-up, half-down | Rows 1 and 2, plus sides | Tie the top section above the highest weft so the tie hides the last row |
| Curly or coily look | Full set in a matching texture | Match the extension curl pattern to yours before you match length |
| Heat-free curls | Any wefts | Braid damp wefts or set them on rollers overnight, then clip in dry |
Heat-free curls that last
Roller size runs one way: the smaller the roller, the tighter the curl. Large rollers give loose, bouncy waves. For braids, start with damp wefts. Tight small braids make crimped waves, and one or two loose braids give soft bends. Let the hair dry fully before you take the braids out, or the pattern falls out.
For textured and coily hair, texture matters more than any styling trick. Our guide to clip in extensions for Black hair matches kinky straight, wavy, and curly wefts to each natural pattern.
How to Blend Clip In Extensions So No One Can Tell
When clip ins show, the cause is color, texture, or a hard line at the ends. Placement comes last on that list.
- Match color at the ends, in daylight. Hold a weft against the bottom few inches of your hair near a window. On most heads the ends run lighter than the roots.
- Mix two shades if you sit between colors. Alternate wefts of the two closest shades for a dimensional result.
- Match texture before length. A silky straight weft in coarse or wavy hair looks fake at any length.
- Style everything together. One pass of a curling iron or flat iron over your hair and the wefts at once hides the change in texture.
Before you buy, learn to judge the hair itself. Our complete guide to clip in hair extensions shows the quality checks a product photo hides.
What Makes Clip In Extensions Look Natural? A Manufacturer’s View
Technique covers placement. The weft decides whether a set still looks natural after months of wear. We check four construction details on every clip in weft we make:
- Cuticle alignment. When every strand keeps its cuticle facing root to tip, the scales lie flat against each other. Hair with mixed cuticle direction catches on itself and mats near the clips.
- Single-donor sourcing. Hair from one donor shares one texture, so a weft behaves the same from end to end under heat and color.
- Weft stitching. A double-stitched base holds each strand when the clips flex, which keeps shedding down at the top of the weft.
- Clip hardware. Silicone-lined clips grip without biting into the strand. We sew each clip at both ends so it sits flat against the scalp.
How to Care for Clip In Extensions So They Last
Clip in extension care comes down to handling, storage, and heat.
- Take them out before bed. Sleeping in clips tangles the wefts and bends the clip bases. Our nighttime hair routine covers overnight storage.
- Take them out before you wash your own hair, as the AAD advises in its tips for wearing extensions.
- Detangle from the ends up. Hold the weft at the top and work a loop brush or wide-tooth comb upward.
- Store them flat or hung in a dry box, away from bathroom humidity.
- Wash only when they need it. Clip ins get no scalp oil, so frequent washing dries them. Follow our step-by-step guide to washing clip in extensions.
- Dry and style with care. A study in the Annals of Dermatology found that a dryer held 15 cm (about 6 inches) away and kept in motion caused less damage than air-drying for hours. The AAD advises flat irons on dry hair at a low or medium setting. Use a heat protectant before any hot tool.
- Replace worn clips. When a clip loses its spring, a stylist can sew a new one onto the same weft.
Stock Clip In Extensions That Go In Fast and Stay Invisible
Running a salon or reselling extensions? A 5-minute application depends on a weft that lies flat and hair that blends. Thanh An Hair makes single-donor, cuticle-aligned Vietnamese human hair clip ins factory-direct, in single drawn, double drawn, and super double drawn standards.
Message us on WhatsApp for a sample set and wholesale price list →
- WhatsApp/Hotline: (+84) 973 522 855
- Official Website: https://thanhanhair.com/
- Instagram: @thanhanhair
- Email: thanhanexport@gmail.com