
Clip In Hair
How to Apply Clip In Hair Extensions Like a Pro
May
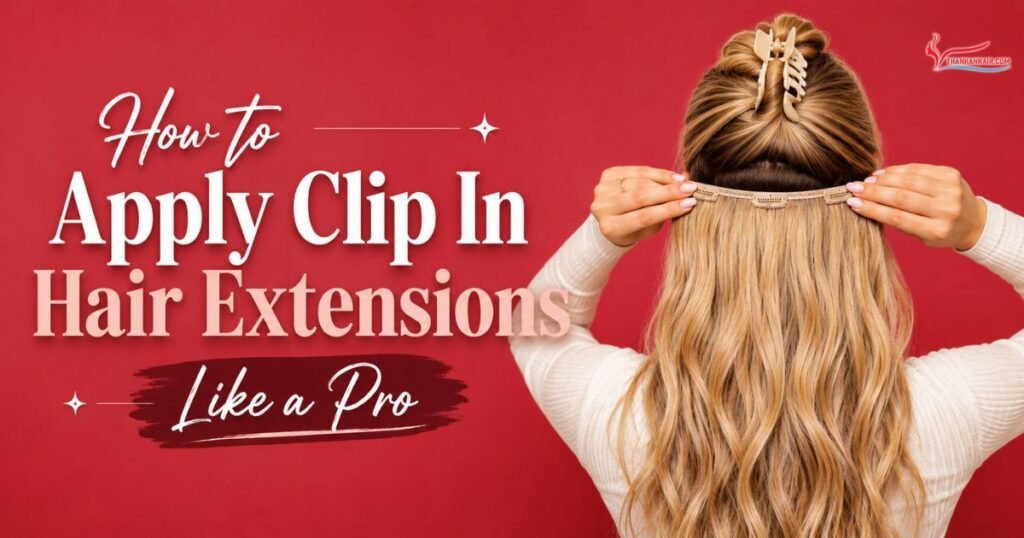
Clip in hair extensions are the perfect solution for anyone looking to add instant length, volume, and fullness to their hairstyle in just minutes. One of the biggest advantages of clip ins is how quick and beginner-friendly they are to apply. At Thanh An Hair, we’ll guide you through everything you need to know from choosing the right clip in extensions to learning how to apply clip in hair extensions step by step for a flawless, natural-looking finish.
What are Clip In Hair Extensions?
Before learning how to apply clip in hair extensions, it’s important to understand what they actually are.
clip in hair extensions are made from hair wefts that are carefully sewn or bonded onto thin, discreet seams with small snap clips attached. These clips allow the extensions to securely attach to your natural hair within minutes.
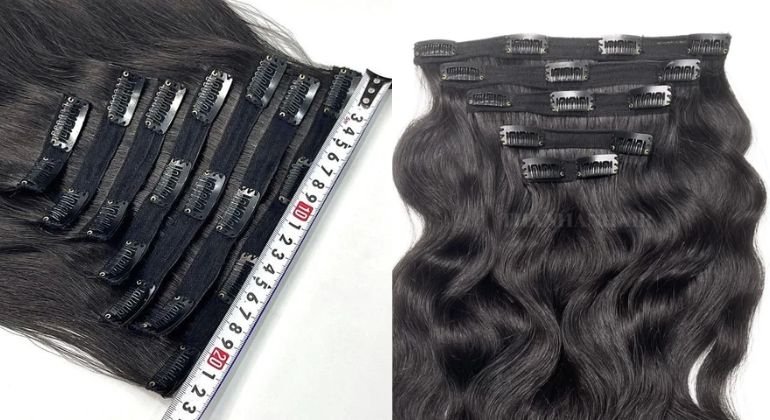
They are one of the quickest and easiest ways to add instant length, volume, and fullness without committing to permanent extension methods. Because of the lightweight design and easy to use clips, clip ins can be applied and removed effortlessly at home, even for beginners.
Clip in extensions come in a wide variety of lengths, colors, weights, textures, and seam types, making it easy to find the perfect match for your natural hair and styling preferences.
Unlike tape ins, sew ins, or keratin bonds, clip in hair extensions don’t require salon appointments or professional installation. They’re the perfect choice for anyone who wants a flexible, damage free way to transform their hairstyle anytime.
Benefits of Clip In Hair Extensions
Clip in hair extensions have become one of the most popular choices for women and it’s easy to see why. One of their biggest advantages is flexibility. With clip ins, you can instantly transform your hairstyle anytime you want, whether you’re looking for extra length, fuller volume, or a completely new look.
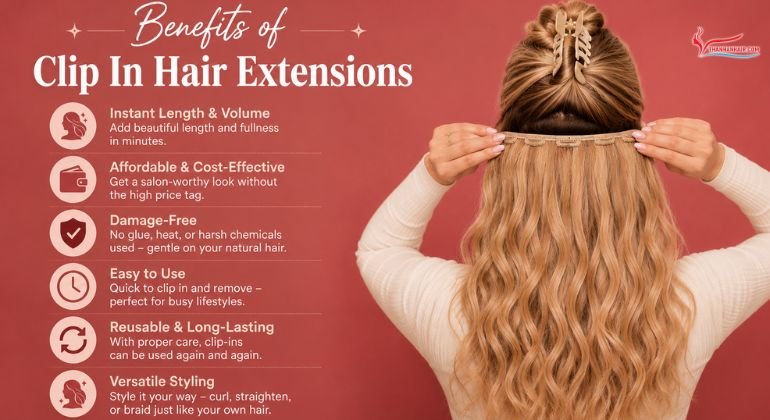
Another reason people love clip ins is their affordability. Compared to salon-installed extensions, clip ins are a much more budget-friendly option while still delivering beautiful, natural looking results. They are available in both premium human hair and high quality synthetic fibers to suit different styling needs and budgets.
One of the best benefits of clip in extensions is that they are gentle on your natural hair. Since they don’t require glue, heat, or chemical application methods, they help minimize damage and reduce stress on your strands.
You can easily apply and remove them whenever needed without affecting your natural hair health, making them a convenient and low-maintenance option for everyday styling.
Types of Clip In Extensions
Before learning how to put in clip in hair extensions, it’s important to choose the right type based on your hair texture, lifestyle, and styling goals. Not all clip in extensions are the same — here are some of the most popular options available today:
Classic clip in Extensions
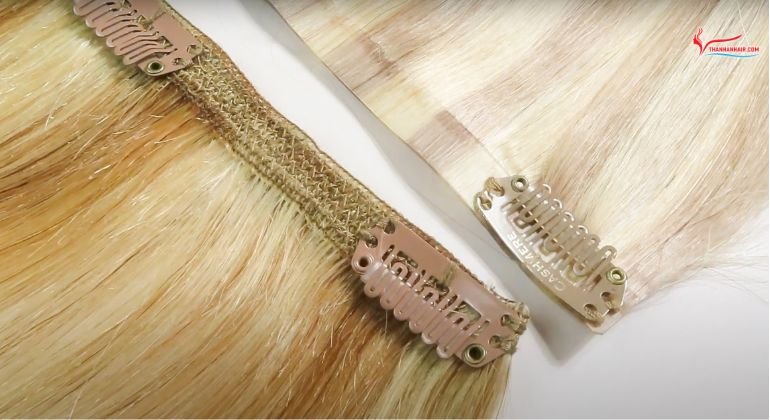
Classic clip in extensions are one of the most common and widely used types of clip ins. They usually come in sets containing 5–9 wefts in various widths to help create a fuller, more natural blend throughout the hair. Each weft is designed with small pressure-sensitive clips attached to a sturdy fabric seam, allowing the extensions to stay secure without causing damage to your natural hair.
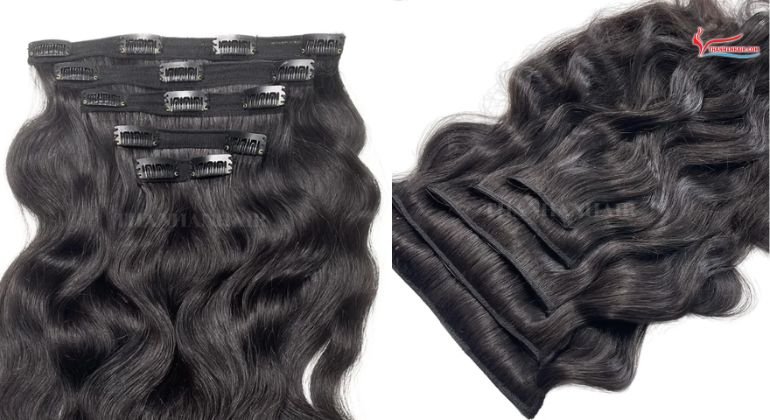
These extensions are perfect for adding instant length, volume, or subtle highlights, making them a great option for both everyday styling and special occasions.
Pros:
- Easy to apply and remove at home
- Reusable and long-lasting with proper care
- Affordable compared to salon-installed extensions
Cons:
- May feel slightly bulky on fine or thin hair
- Clips can become noticeable if not blended properly
- The fabric seam may feel heavier during long wear
Best For:
Beginners, daily styling, parties, weddings, or special events.
Pro Tip:
Blend the extensions with layered hairstyles for a softer, more seamless natural finish.
Seamless (Silicone/PU) clip ins
Seamless clip in extensions are designed with a thin silicone or polyurethane (PU) base instead of the traditional fabric weft. Thanks to this ultra-flat design, the extensions sit closer to the scalp, creating a smoother, lighter, and more natural appearance, especially for people with fine or thin hair.
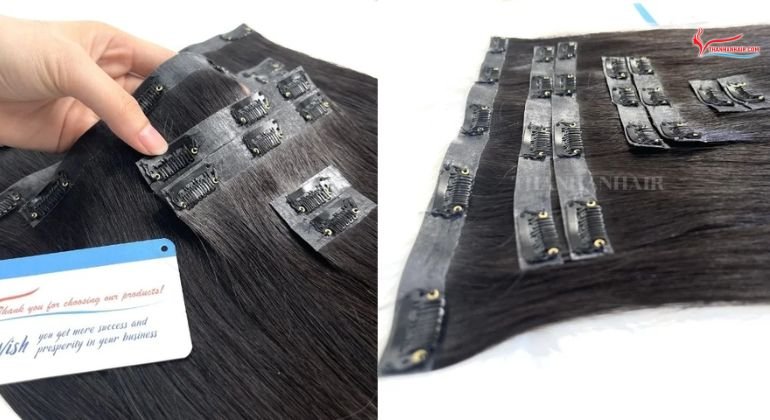
Compared to classic fabric clip ins, seamless clip ins feel more lightweight and comfortable to wear throughout the day. Their thinner construction also helps reduce visible weft lines and makes the clips less noticeable once installed.
Pros:
- Lightweight and comfortable for daily wear
- Lies flatter against the scalp for a more natural blend
- Less visible than traditional fabric wefts
- Ideal for sleek hairstyles and fine hair textures
Cons:
- Usually more expensive than classic clip in extensions
Best For:
Fine or thin hair, or anyone looking for a seamless and natural-looking finish.
Pro Tip:
Choose a shade that closely matches your roots to help the extensions blend flawlessly with your natural hair.
How to Prepare Your Natural Hair for clip in Extensions
If you’re learning how to put in clip in hair extensions, proper preparation is one of the most important steps for achieving a seamless and natural-looking result. clip in extensions are one of the easiest ways to add instant length, volume, and style without visiting a salon, but the final look depends heavily on how well your natural hair is prepared beforehand.
Whether you’re a beginner or simply want a more flawless finish, these preparation steps will help your clip ins blend beautifully and stay secure throughout the day.
Step 1: Start With Clean, Dry Hair
Always begin with freshly washed and completely dry hair. Clean hair helps the clips grip more securely, reducing the chances of slipping during wear.
Avoid using heavy conditioners, oils, or leave-in products before installation because overly silky hair can make it difficult for the clips to stay in place. If your hair needs hydration, use a lightweight conditioner and rinse thoroughly.
Step 2: Remove All Tangles
Before applying extensions, gently brush your hair to remove knots and tangles. Using a wide-tooth comb or detangling brush helps protect your natural hair from unnecessary pulling or breakage during the installation process.
For best results, start brushing from the ends and slowly work upward toward the roots.
Step 3: Section Your Hair Properly
Sectioning is one of the key techniques when learning how to apply clip in hair extensions naturally. Use a tail comb to create neat horizontal sections, beginning at the nape of your neck and gradually moving upward.
Clip the upper sections of your hair away while you install each weft. This method helps create a cleaner application and allows the extensions to blend more evenly with your natural hair.
Step 4: Match the Texture and Color
For the most natural finish, your clip in extensions should closely match both the color and texture of your real hair. Before installation, style the extensions to match your hairstyle, whether straight, curled, or wavy, so they blend seamlessly once clipped in.
Taking a few extra minutes to prepare your hair properly can make a huge difference in the final result. A good foundation helps your clip in extensions look more natural, feel more comfortable, and stay securely in place all day long.
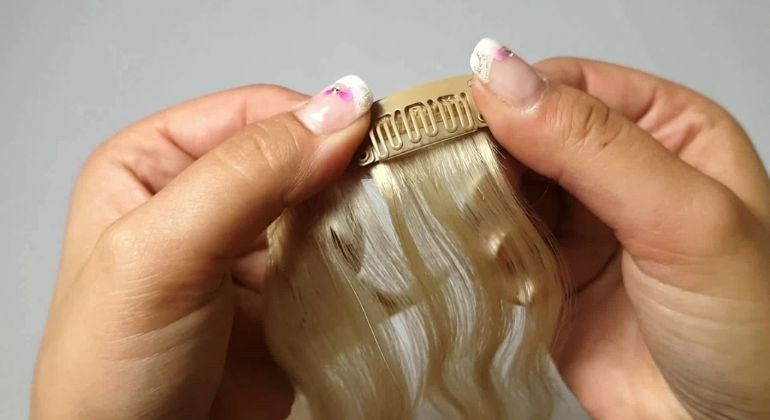
Step by Step: How to Put in clip in Hair Extensions Naturally
Knowing how to apply clip in hair extensions properly is the secret to achieving a flawless, natural-looking hairstyle that blends seamlessly with your real hair. Follow these simple, professional tips to master how to put in clip in hair extensions like a pro.
Step 1: Start From the Bottom
The first step is sectioning your hair correctly. Begin by separating the upper half of your hair and clipping it away to expose the lower section near the nape of your neck.
Take a medium or large weft and attach it close to the roots. Make sure the clips are evenly secured and feel comfortable without pulling too tightly on your scalp.
Step 2: Work Your Way Up in Layers
Continue creating horizontal sections as you move upward toward the crown of your head. Install the larger wefts around the middle sections to create fullness and overall volume.
As you reach the sides near your temples, switch to smaller wefts for a softer and more natural blend. If you have fine or silky hair, gently teasing the roots before clipping in the extensions can help improve grip and prevent slipping.
Step 3: Blend the Extensions Naturally
After all the wefts are installed, release the top section of your hair. Use your fingers, a wide-tooth comb, or a soft brush to gently blend your natural hair with the extensions.
Lightly tousling the hair can also help the extensions disappear more naturally into your hairstyle.
Step 4: Style Everything Together
For the most seamless result, style your natural hair and extensions together. Whether you prefer curls, waves, or sleek straight hair, blending both textures together helps make the extensions virtually undetectable.
Always apply a heat protectant before using hot tools, especially if you’re wearing human hair extensions.
Now that you know how to put in clip in hair extensions, you can achieve salon-quality volume and length right at home. With a little practice, clip ins become quick, easy, and perfect for everyday styling or special occasions whenever you want an instant hair transformation.
Conclusion
clip in hair extensions are one of the easiest and most convenient ways to instantly add length, volume, and extra glamour to your hairstyle without committing to permanent extensions. Whether you want a soft everyday upgrade or a dramatic transformation for a special occasion, clip ins make it simple to switch up your look within minutes.
Their versatility, beginner friendly application, and damage free design make them a favorite choice for anyone who loves experimenting with different hairstyles while still maintaining healthy natural hair.
Whether you’re going for a casual everyday style or a full glam finish, clip in extensions give you the freedom to transform your hair anytime you want. Now that you understand how to put in clip in hair extensions and the different types available, you’ll be able to choose the best option for your hair type, styling needs, and desired look with confidence.
Contact Thanh An Hair today for expert consultation and the most competitive price list.
- WhatsApp/Hotline: (+84) 973 522 855
- Official Website: https://thanhanhair.com/
- Instagram: @thanhanhair
- Email: thanhanexport@gmail.com